Showing posts with label art. Show all posts

Wednesday, January 7, 2015

New Year, New Blog Post

On Painting...
So waaay back in the Summer(How I miss the Summer) I got brave and entered two paintings in a local art show. I wasn't expecting to win anything so I wasn't surprised when I didn't. However, I wasn't expecting to SELL a painting either so I was totally surprised and overly excited when I went to pick up my paintings and instead of two paintings, I picked up a check and one painting!

This was the first time I'd sold a painting to someone whom I did not know personally and it felt GREAT! :)

The painting that sold, Fox's Forest, is pictured here.

There was a mix up at the gallery so my painting titled "Mama and Owlets" was listed as "Not for Sale",  but I l think if they had marked it with my asking price, it would have sold too. That's what I like to tell myself anyway. It's currently hanging on my living room wall.

I'm currently working on teaching myself to use watercolors and I'm having so much fun with it! I love how quickly I can finish a painting and how they look pretty good, even though I don't really have the techniques down yet. Here are a couple samples.:
From an online tutorial
Tiger Lily from Disney's Peter Pan...and that's my version of Ariel in the background. 
On Cooking...
I'm currently obsessed with this recipe from Plain Chicken. I've made it three times already and I just finished up a steaming bowl of this chicken chili concoction. It's so delicious and perfect for this ridiculously cold January in Kentucky.  Seriously, grab your crock pot and make a batch!
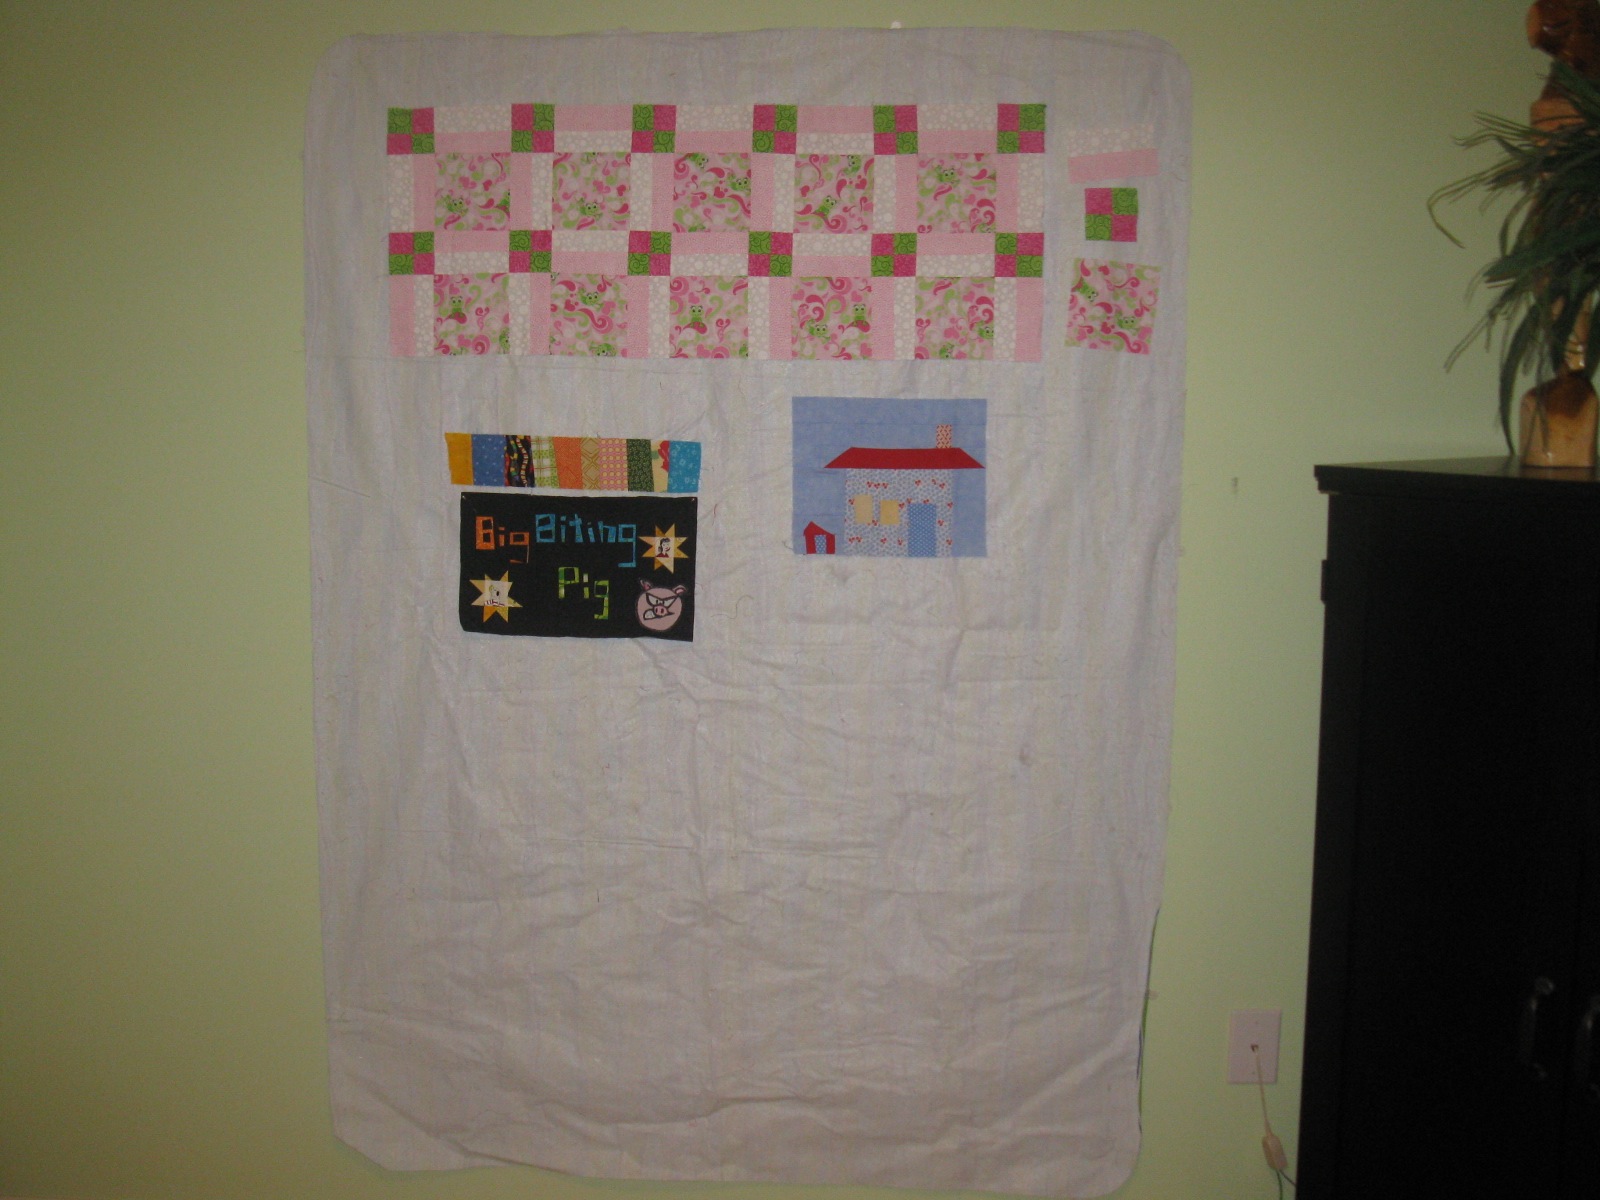
On Quilting...
I'm quilting again! YAAAAY! It's been forever, but I  pulled out a quilt top I started maybe 6 years ago(?) and I'm using it to practice free motion quilting. My stippling is still a hot mess, but by the time I got to the fourth block, my paisleys looked all right. If you are looking to learn FMQ, I highly recommend Leah Day's courses on Craftsy.com.


Whew, that was a lot! But it feels good to blog after so long an absence. I just may do it again soon!


Friday, December 30, 2011

Blue On Wednesday

I didn't plan it this way, but I think it's pretty cool that the first quilt I made in 2011 was a mini art quilt...
Fan Art Piece inspired by a local movie production company
... and my final quilt of 2011 was also a mini art quilt!

I'd had kind of a crappy day on Wednesday and after coming home from work, moping around and looking at the walls for a while, I decided that doing something creative was the only thing that would make me feel better.

I started by covering a scrap of white fabric in gesso, then painting this small portrait using watercolors.


Next, I added some thread sketching--my first ever attempt--to the hair. And yes, after it initially dried, I went in and added more paint, changing the look of the face.
thread sketching/painting(?) detail
Finally, I made a small quilt, added some shapes using raw edge applique and then zigzagged the portrait on top of everything...and yes, added more paint, changing her face yet again!


I'm going to do something that is extremely difficult for me and refrain from my usual self depricating, "I'm not an artist/quilter/seamstress/ so look at everything that is wrong with this" hooey and say this instead: I am proud of this little quilt! I'm not proud because I think it is a great work in either the art or quilting realm. I am proud that I had an inkling of an idea that I was able to turn into something real; that I was able to overcome "the blues" in a creative way; that I did it without using someone else's pattern and followed my own nose instead.

Sunday, June 12, 2011

Postcard Swap with Vintage Sheets & Aprons

A while ago I joined the Trading Fabric Postcards group. I've received some fun and artsy postcards and been able to play with new ideas as I learn to make these little works of art. In May, one of the themes was Aprons. I couldn't resist joining in. I decided to use some of the scraps left over from the vintage sheet quilt I've yet to finish to make the card. I wanted it to have a shabby/cottage look, so instead of doing a tight zig zag around the apron, I did a straight stitch, leaving enough edge exposed to ravel. The outcome isn't exactly what I had pictured, but I am pleased with the overall look of it and I think the pieces of vintage sheets are lovely. 
I'd like to make more postcards using sheet scraps and I'd like to share them with YOU! If you'd like a vintage sheet postcard, leave a comment here.  I'll choose several names from a hat in a couple weeks and sometime in the next month in the next year in the future, those folks will receive a little bit of vintage sheet love in their mailbox!

I adore the postcard that Chris sent to me in this swap! The background is a vintage quilt block from her granny's stash and the apron is made from Plaid stamps! I'm assuming these are some type of saver stamp that came from a grocery store. It's perfect! 

Monday, November 29, 2010

In Which Kellie Makes a Design Wall (errr, tacks a tablecloth to the wall)

I have a design wall! WooHoo! OK, it's a dorky homemade design wall, but it's a design wall nonetheless. Normally when I try to put together a quilt, I lay the blocks on the floor, only to have cats and/or the dog decide to lay on them, carry them off, or attempt to eat them. Not to mention, it's hard to really take everything in when you're standing over it rather than in front of it.

I've seen photos on quilting blogs of lovely studio spaces with large design walls and envied the quilters who get to create in such wonderful spaces. My "studio" is actually a spare bedroom turned computer room/crafty space/ebay-antique junk holding room combo. Not exactly the studio of my dreams, but it works. Tonight I decided that, despite the fact I'm up to my eyeballs in unfinished projects, laundry and general clutter, I couldn't go another night without a design wall of my own.

So I grabbed the wadded up tablecloth from the sewing closet and got to it(3M Command Strips, I heart you!).  I suppose I could have bought a "fancy" wall or maybe spent the money to create a more permanent one, but the version I've got going here is suiting me fine.  I saw it done this way at my local quilt shop and I figure if a tablecloth design wall is good enough for the quilt shop, it's certainly good enough for me!

And nah, I couldn't take the time to iron(can you even iron the backside of a vinyl tablecloth), steam, or otherwise smooth it out. I'm impatient like that. I slapped a couple of my current projects up, stood back and admired my tablecloth turned design wall. It'll be nice to be able to step back as I'm working on future projects and take a look at my work...hopefully it'll help me focus on the process a bit more.

Tuesday, November 9, 2010

In Process: Mini Quilt Inspired by a Big Biting Pig

The Process Pledge

I, ____Kellie______, pledge to talk more about my processes, even when I can’t quite put them into words or be sure I’m being totally clear.   I’m going to put my thinking and my gut feelings out there.  


For those of you who have "heard" me babble about The Process Pledge, there you have it. I stumbled upon it on a blog a while back and thought it was a great idea, especially for someone fairly new to quilting. Although, I can see how it would also be valuable to any type of artist. It'll be interesting to see how my processes change/are refined as I become more experienced and confident in my skills.


Here's the process/progress of a project I am currently working on:


First of all you need to know that in my little corner of KY, we have our very own independent film production company. Cool, huh? It's called Big Biting Pig Productions and they make suspense/horror flicks.  A few weeks back they had a  fan art contest. and while I thought "I should make a quilt!" I also thought "that would be completely nerdy and people will realize I am an uber dork", so I didn't do it. 


This past weekend, following a wrap party for the latest film and a burst of inspiration, I decided to go ahead and stitch up my take on fan art. I mean who was I kidding? It's not like it would come as a surprise to anyone that I'm nerdy and dorky. Besides, it is feeding my need to do something creative.


It's(obviously) still a work in progress, but here's what I have done so far: 
These letters were the devil to make. Perhaps that makes them befitting  a company that makes horror movies. The one online tutorial I've ever came across for this type of letter was removed, so I had to wing it. I drew them first and used that as my guide. 
(my letter guide sketch...please ignore the  bits of Milky Way Caramel)

From there I just began cutting small bits of fabric and "playing" until I got something that resembled a letter.  Luckily, they seemed to work out. OK...if I'm being honest, I actually think they look pretty great.


Since this is a tribute to a movie company, I decided some stars were in order. As I was digging through my scrap bag for star fabrics, I came across some pieces from an apron I made a while back.  I thought the man looked like he was screaming and the woman had a bit of a worried look on her face. I knew immediately I had to add these to the quilt, so they were added to the center of the stars. 


I don't have it all worked out in my head, but I think it's going to need at least one more star and  I simply cannot have a Big Biting Pig quilt without a pig. Since I've never done anything like this, I have no idea how it's going to all fit together in the end. I think it'll be rather like working a puzzle. I'm having a great time with it!
I hope to have it finished this week and I'll be continue to blog my process as it comes along.


 To take The Process Pledge yourself, go here.